+86-25-8470-5507

- All
- Product Name
- Product Keyword
- Product Model
- Product Summary
- Product Description
- Multi Field Search


Views: 0 Author: Site Editor Publish Time: 2026-06-24 Origin: Site


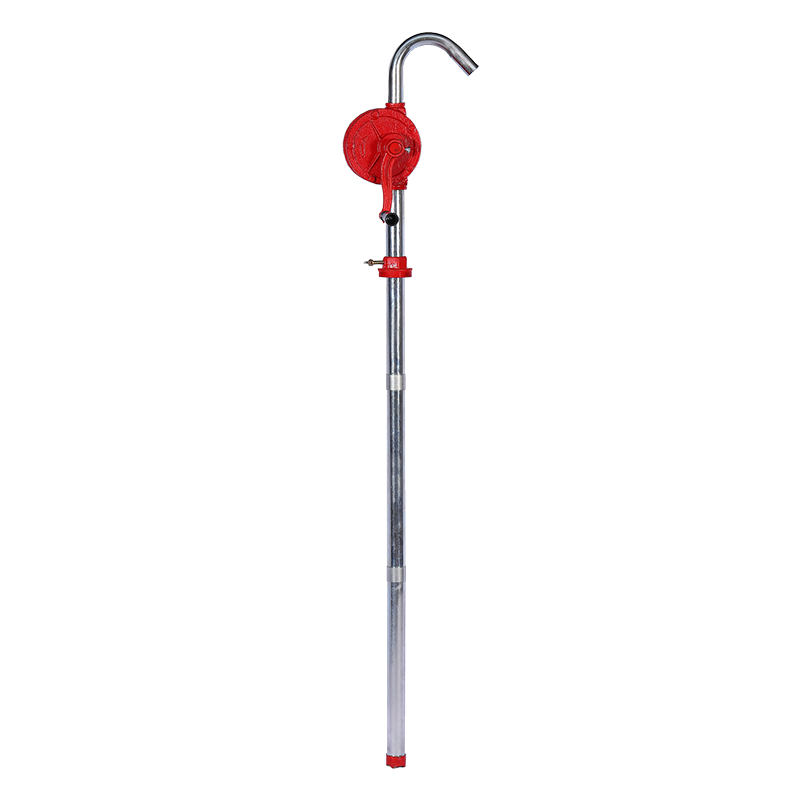
A Hand Pump serves as your ultimate mechanical failsafe. It operates reliably during power outages and critical emergencies. However, neglecting routine maintenance turns this vital tool into a major liability. You rely on it most when conditions fail, so it must work flawlessly. Poorly maintained equipment inevitably suffers from dry-rotted seals and lost prime. Worse, stagnant fluid systems can introduce dangerous contamination into your supply. Ignoring these basic upkeep requirements forces expensive hardware replacements and extended system downtime.
We designed this evidence-based maintenance protocol to help you avoid those exact pitfalls. You will learn actionable, step-by-step methods to maximize equipment lifespan. We will cover strict sanitary compliance requirements for potable water systems. Finally, you will discover a framework to evaluate whether to repair or replace your failing unit. This proactive strategy keeps your mechanical systems ready for immediate action.
Equipment longevity depends entirely on consistent upkeep. Most owners make the mistake of following strict calendar days for their maintenance routines. Instead, you should define your maintenance intervals based primarily on actuation volume. Heavy daily use demands faster intervention and closer observation. Casual seasonal use allows for longer intervals between deep teardowns. You must adapt this schedule to your specific operational reality.
Perform a rapid visual check every thirty days to catch early warning signs. Look closely for external weeping around the main pump head. Moisture gathering at the joints indicates an emerging seal failure. Next, test the handle resistance during a few normal strokes. Excessive friction strongly indicates lubrication failure inside the cylinder. Catching this friction early prevents severe scoring along the internal walls.
Implement a six-month protocol if you actively use the equipment. Inspect the drop pipe connections carefully. You need to check for tiny air leaks pulling into the suction line. Assess the lower weeping hole for mud or debris blockages. A blocked weeping hole traps water inside the upper casing. This trapped fluid causes catastrophic freezing and cracking during cold weather.
Perform an annual deep-dive to restore peak operational performance. You will need a full teardown of the upper components. Preventative replacement of high-wear O-rings ensures ongoing vacuum integrity. Replace flat gaskets before they become brittle and crack. This deep-dive eliminates hidden issues before they cause total mechanical failure.
| Maintenance Phase | Frequency / Volume Indicator | Primary Action Required | Critical Checkpoint |
|---|---|---|---|
| Visual Inspection | Every 30 Days (or 1,000 strokes) | Test handle friction; check for leaks. | External head weeping. |
| Intermediate Protocol | Every 6 Months (or 5,000 strokes) | Inspect drop pipe; clear weep hole. | Suction line air leaks. |
| Deep-Dive Teardown | Annually (or 10,000+ strokes) | Replace O-rings; apply fresh grease. | Internal cylinder scoring. |
Follow this structured six-step process every time you service your equipment. It guarantees safe disassembly and highly effective servicing. Skipping steps often leads to improperly seated seals or dangerous pressure releases.
Sanitary compliance remains absolutely critical for all drinking water applications. Neglecting this phase endangers anyone consuming the output. Stagnant water sitting idly in the drop pipe breeds dangerous coliform bacteria. The dark, damp internal cylinder creates a perfect environment for microbial growth. Regular sanitization prevents severe waterborne illness and ensures state health compliance.
Execute a strict sanitization shock standard operating procedure (SOP) annually. We strongly recommend a standard chlorine-based disinfection process. Many municipal health departments outline very similar methodologies for residential wells. You must achieve exact chemical dilution ratios to succeed safely. Too much bleach causes immediate corrosive damage to internal metal components. Too little bleach fails to eliminate harmful bacteria colonies.
Mix two ounces of unscented, basic household bleach per three gallons of clean water. Pour this exact mixture directly into the upper casing. Pump the handle five times to draw the chlorinated water down into the check valves. Let this solution sit undisturbed inside the system for at least twelve hours. This contact time destroys hardened biofilms.
Post-sanitization flushing ensures human safety. Do not drink the water immediately after shocking the system. You must pump a minimum fluid volume to clear the residual chemicals completely. Pump continuously until you no longer smell any chlorine odor. This aggressive flush drops parts-per-million (PPM) to safe levels before consumption. Usually, fifty full strokes will clear a standard shallow system.
Mechanical failures always present specific, recognizable symptoms. Recognizing these physical signs helps you diagnose the exact root cause quickly. Fast diagnosis prevents you from tearing down the wrong components.
This aggressive resistance usually means a blocked output valve. It creates a dangerous hydrostatic lock inside the chamber. Sometimes, it indicates a completely frozen drop pipe in winter. You must clear the physical obstruction immediately. Do not force the handle down. Verify your winterization protocols to prevent future freezing below the frost line.
A failing lower foot valve often causes this frustrating issue. Fluid simply drains back down the pipe when you stop pumping. Alternatively, you might have a deeply worn leather or synthetic cup seal. Replace the faulty foot valve right away. Inspect the inner cylinder for deep scoring causing microscopic air bypass.
Air leaks in the main suction line cause a distinctly spongy feel. The drop pipe cannot hold a strong vacuum to lift the fluid. This usually happens at threaded connection points. Tighten all threaded PVC or steel joints firmly. Re-tape the male threads using fresh, high-density Teflon tape to ensure a hermetic seal.
| Observed Symptom | Probable Root Cause | Required Maintenance Action |
|---|---|---|
| Handle forcefully springs upward. | Blocked output or frozen drop pipe. | Clear obstruction; initiate winterization thaw. |
| Loss of prime overnight. | Failing foot valve or worn cup seal. | Replace foot valve; inspect for scoring. |
| Spongy, weak handle resistance. | Air leak in the suction line (drop pipe). | Tighten and re-tape threaded joints. |
| Grinding noise during stroke. | Particulate debris in cylinder; dry seals. | Disassemble, clean thoroughly, and lubricate. |
Every mechanical device eventually reaches its absolute physical limits. You must evaluate objectively whether repairing the unit makes financial sense. Use a simple, industry-standard cost-benefit analysis framework. Consider upgrading the entire unit if replacement parts and labor exceed forty percent of a new pump's cost. This strict threshold prevents you from throwing good money at fundamentally failing hardware.
Buy your maintenance kits well ahead of time. We strongly recommend pre-purchasing OEM seal kits for your scheduled seasonal maintenance. Waiting for parts causes unacceptable downtime during emergencies. Keep a spare rebuild kit ready on your shelf. Having exact-fit parts on hand saves significant stress when a seal blows out unexpectedly.
Sometimes, you must upgrade the entire unit immediately. Look closely for indicators of catastrophic structural wear. Pitted stainless steel rods cannot hold a reliable vacuum seal anymore. Cracked cast iron housings pose an immediate structural failure risk under heavy pressure. These defects cannot be patched safely.
Evaluate newer models when facing these severe defects. Modern manufacturing offers massive improvements. Newer units feature precise CNC-machined tolerances. They often include fully sealed roller bearings instead of raw metal pivot points. These specific upgrades provide significantly smoother operation. Ultimately, a modern replacement delivers much lower lifetime maintenance overhead.
Preventative maintenance always proves far cheaper and safer than reactive emergency repairs. A neglected system inevitably fails when you require it most. Your equipment performs flawlessly only when you follow a strict, routine upkeep schedule. Staying proactive guarantees water or fluid flows exactly when you demand it.
Take direct action today to secure your system. First, view exact-fit maintenance kits for your specific model to prepare for your annual teardown. Second, download a printable periodic maintenance checklist and tape it near your installation area. Finally, if your unit shows catastrophic structural wear, browse high-durability replacement pumps immediately to avoid sudden failure.
A: Always focus strictly on 100% pure food-grade silicone grease for potable water systems. This ensures sanitary compliance and prevents rubber degradation. If you operate industrial equipment, select specialized petroleum-compatible lubricants designed specifically for those harsh chemicals.
A: Establish a baseline of one to three years for complete replacement. This timeline varies depending heavily on particulate levels in the pumped fluid. Sandy or highly abrasive water will wear out internal O-rings much faster than clean municipal water.
A: Sudden mechanical friction usually points to a severe lack of lubrication inside the main cylinder. Alternatively, you might be facing hydrostatic lock from a blocked discharge line. Inspect the internal walls immediately and clear any obvious downstream blockages.
A: Yes, but you must take strict precautions. Your unit requires an open weep hole located below the frost line. You must execute proper drain-down procedures before freezing temperatures arrive. Standing water inside the metal casting will freeze, expand, and shatter the housing.


